I finally did it. I made my first magnetic board and now I make them for you. To this day, I make boards in a similar, albeit slightly improved way. I remain uncompromising in quality and believe that with a flexible design, our magnetic boards fit every home. Start preserving your memories as soon as possible and get yours. I will tell you my story about how I made my first magnetic board and how I make them today.
As I already described in the article titled Magnetic board for travel lovers , the first magnetic board was led by childhood events. The key to all this was that when we were renovating the kitchen and installing a built-in refrigerator, we no longer had room for family magnets from our travels. But that’s not all, what annoyed me even more was the issue of the quality and design of magnetic boards on the market. I will tell you how I managed to resolve this issue with my boards below, but before that, let me explain in more detail what bothered me about the quality and design of the existing boards.
Poor quality and inappropriate design
Magnetic boards on the market are divided into a “professional” program, which is intended for educational institutions, and a “household” program. At the time when I was looking for a board for us, the offer from the household program was very poor quality. It seemed to me that they had poor-quality writing-magnetic surfaces , and generally very poor-quality frames . You can read about what a quality magnetic board is for me in the article entitled: How to recognize a quality magnetic board? The frames seemed to me to be mainly poor quality, since most magnetic boards on the market had (and still have) non-anodized aluminum frames, which are not at all pleasant to the touch and look at. I also wanted to buy a board that would be nice to look at. This is subjective, but neither at home nor abroad I could find a really nice product that would fit in our home. The decision was made – I will make my own magnetic board .
How did it all go and what happened?
And I got started. I had some experience with sheet metal and flat gluing, and all the necessary tools. I had a 100 and 1 problem, but about that another time, because otherwise this article would be too long. So I will only describe the final, refined process. Making a magnetic board is not easy . It takes a lot of time to prepare the materials we need. Our stylish magnetic boards are made to contain a high-quality colored magnetic writing surface, intermediate filler, wall foil, wall brackets and edge strips . Are you interested in how I made my first magnetic board from these components?
- Once I had all the materials ready, I used a special machine called a surface press, with which I glued the panels, which consist of a writing surface, intermediate filler, and wall foil, together with special adhesives and in the correct order.
- I cut the foils to the desired size of the magnetic board.
- Then I installed wall brackets on the back of the magnetic board.
- Finally, I added aesthetic edge strips and mounted the board on the wall.
I still make boards today in a similar, albeit slightly improved, way. I remain uncompromising in quality and believe that with the adaptable design, our magnetic boards fit every home. Start preserving your memories as soon as possible and get yours.
Our best offer
-
Coatings
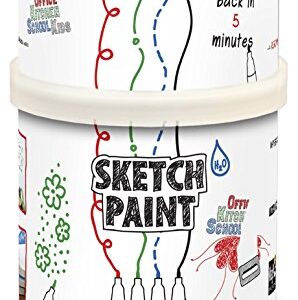
SketchPaint special paint for writing and drawing
59,99 € – 109,98 € incl. tax Select options This product has multiple variants. The options may be chosen on the product page -
Coatings
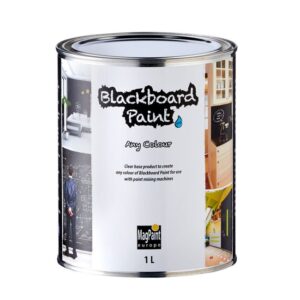
Magnetic Primer for All Colors
29,99 € – 139,98 € incl. tax Select options This product has multiple variants. The options may be chosen on the product page -
Coatings
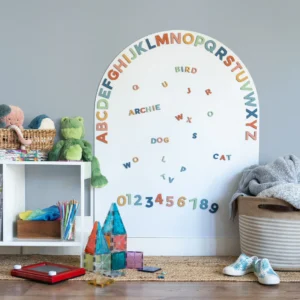
Magnetic paint Basic
49,98 €Original price was: 49,98 €.39,99 €Current price is: 39,99 €. incl. tax Add to cart -
Flexible
Semicircular flexible magnetic chalk writing surface
5,25 €Original price was: 5,25 €.4,88 €Current price is: 4,88 €. incl. tax Buy


