One of the main advantages of PVC panels is their easy installation, requiring minimal tools and preparation. Below you will find step-by-step instructions for a professional installation.
Tools and materials needed
PVC wall panels(measure in advance)
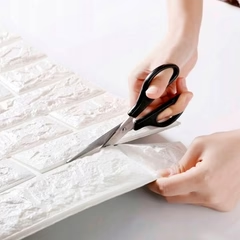
Scissors or utility knife (for trimming)
Glue and a soft cloth or roller (if the panels are not self-adhesive)
Measuring tape
Step-by-step installation instructions
1. Wall preparation
Remove dust, grease and peeling paint.
The surface must be dry, flat and smooth.
If the wall is uneven, install slats (wooden or metal) for better alignment.
2. Measuring and cutting panels
Calculate the number of panels needed (see calculation below).
Trim the edges with scissors or a knife if necessary.
3. Applying glue (if necessary)
If the panels are not self-adhesive, apply PVC glue (e.g. liquid nails).
Spread evenly to avoid bubbles.
Panel assembly (top to bottom)
For self-adhesive panels:
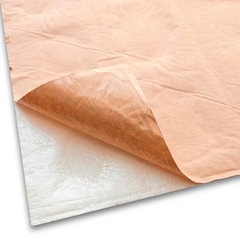
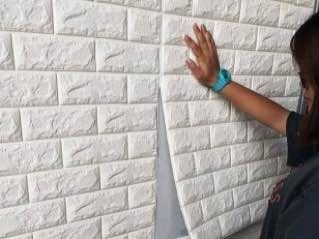
Peel off 5-10 cm of the protective film at the top. Align the panel on the wall and press. Gradually remove the film and press the panel down smoothly.
For adhesive panels:
Press against the wall for a few seconds. Use a roller to ensure even adhesion.
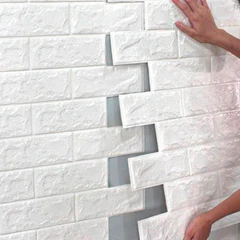
Picture of the PVC panel installation process
Calculating the required number of panels
Use the calculator below to calculate the required number of panels.